The Schedule section of the Project Workspace is where the top deliverables and milestones for each project are tracked and managed.
The schedule plan is shown on the Project Workspace, visually displaying the items that have been promoted from the Gantt chart for reporting - for the date range of the items listed. Navigate to the Project Schedule by either scrolling down on your Project Workspace, or by selecting Schedule from the left-hand navigation pane.
Schedule View on the Project Workspace
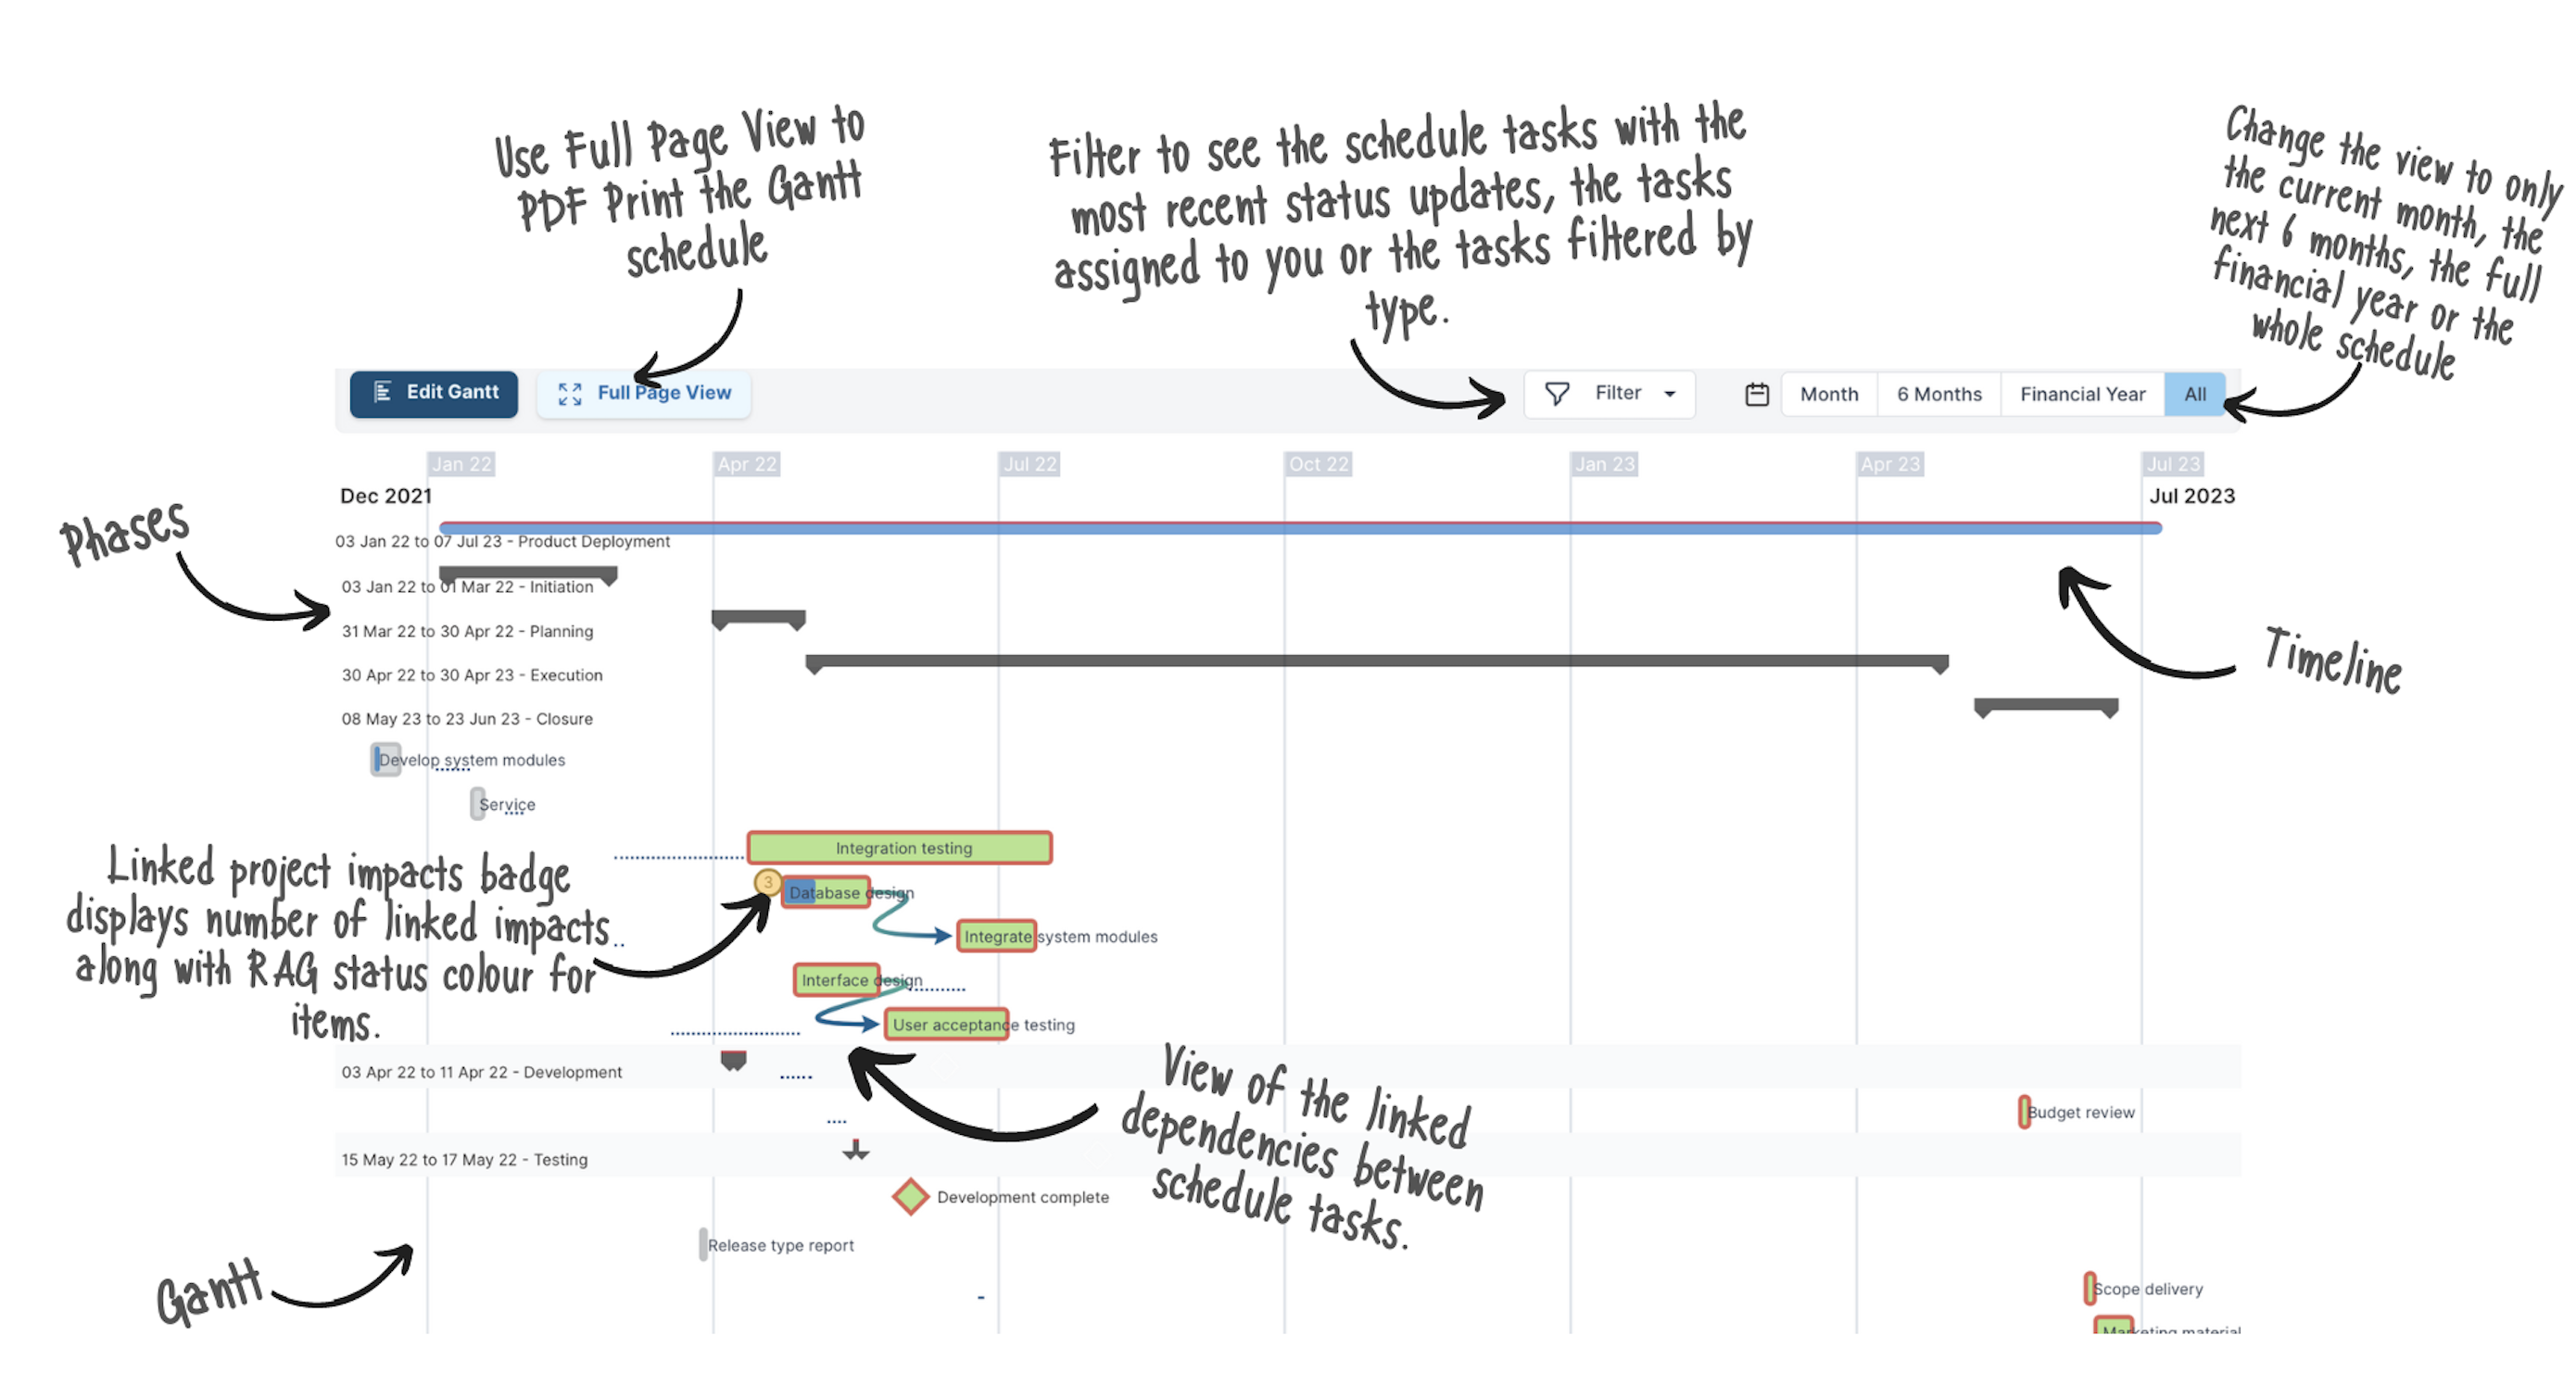
The schedule combines 3 pieces of delivery information:
- Timeline: The first entry on the schedule is the total timeline of the project. This entry is informed by the start and end dates for the project under the project settings.
- Phases: Next are the methodology phases. These entries are informed by the phase dates set for the project under the project settings.
- Gantt Tasks: All the promoted schedule items from the project's Gantt chart.
To edit the Gantt chart, click on the Edit Gantt button in the toolbar to see the full plan for the project and to manage and populate the schedule. The next section will explain how to use the Gantt chart view and the various functionality.

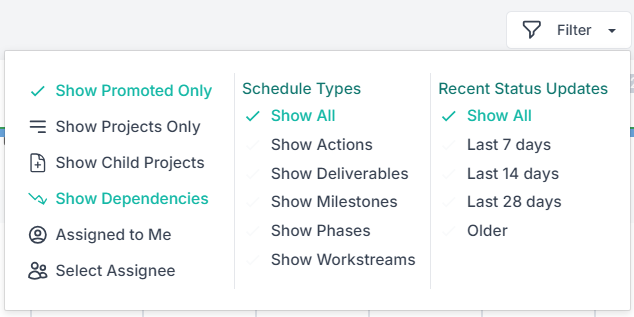
The filter functionality helps you surface the tasks that you want to pay attention to. Click on the Project Schedule Filter in the tool bar to show schedule tasks assigned to you or to select other assignees, most Recent Status Updates or select the Schedule Types to display (you can select more than one schedule type to display, such as deliverables and milestones together).
The Gantt Chart View
Selecting Edit Gantt from the project workspace will take you to the Gantt page where you can create and manage your project schedule plan. You can read more about managing your project schedule in Fluid here. In this article we will explain how to use the various functionality on the page.
Gantt Chart Tool Bar


1. New Task to create a new schedule item. Click on  next to an item to create a child item.
Please note that there are various options for populating a project schedule:
- MANUALLY: Add schedule entries through Fluid's User Interface (UI) by using New Task at the top left of the screen, or the
 icon on the schedule. You can learn more about creating new tasks here.
 - EXCEL UPLOAD: Upload an Excel spreadsheet of schedule items using the Bulk Edit feature under Tools at the top right of the screen.
- MS PROJECT FILE UPLOAD: Import your MS Project Plan using .mpp, .mpt or .xml files, under Tools at the top right of the screen.
2. Indent and Outdent line items to create hierarchies.
3. Undo and Redo changes made.
4. Expand and Collapse all parent and subtasks on the gantt chart.
5. Replan the schedule - recalculate the plan according to dependent (linked) tasks.
6. Baseline the schedule for the start/end dates of tasks to view the current dates against the baselined dates. Learn more on schedule baseline, click here.
7. Show Critical Path toggle to YES to highlight all the items and relationships that lie on the shortest timeline in which the project can be completed.
8. Include Weekends to include/exclude weekend days (Saturday and Sunday) for a schedule item's duration. You can read more about this feature here.
NOTE: By default, the Gantt schedule will be set to exclude weekends. The project manager can update the flag to turn on the Include Weekends option if required.

9. Search schedule items.
10. Zoom the schedule display by day, week, month, quarter or year.
11. Schedule Columns toggle to choose which columns to display.
12. Refresh the Gantt chart.
Gantt Chart View
 | The left side of the Gantt view displays a list of the schedule items. Re-order line items by simply clicking and dragging them up or down the list. At a glance you can see the following for each item:
| |
The intuitive drag-and-drop interface on the right side of the Gantt view allows you to:
|  |
Understanding Task Dependencies
Dependencies are the relationships among tasks which determine the order in which activities need to be performed.
Fluid supports all four (4) types of task dependency relationships, namely:
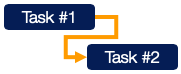 | Finish-to-Start | Predecessor (Task #1) must finish before Successor (Task #2) can start. (i.e. Land must be bought before building can begin) |
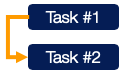 | Start to Start | Predecessor (Task #1) must start before Successor (Task #2) can start. (i.e. Excavating must start before foundations can be laid) |
 | Finish to Finish | Predecessor (Task #1) must finish before Successor (Task #2) can finish. (i.e. Plastering must be completed before painting can be completed) |
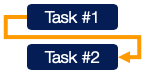 | Start to Finish | Predecessor (Task #1) must start before Successor (Task #2) can finish. (i.e. Roof must start before interior painting can be completed) |
Tasks may have one or multiple preceding tasks, and one or multiple succeeding tasks. The most common dependency relationship is a finish-to-start relationship - the least common is the start-to-finish relationship.
You can read more about managing your project schedule in Fluid here.
Was this article helpful?
That’s Great!
Thank you for your feedback
Sorry! We couldn't be helpful
Thank you for your feedback
Feedback sent
We appreciate your effort and will try to fix the article